

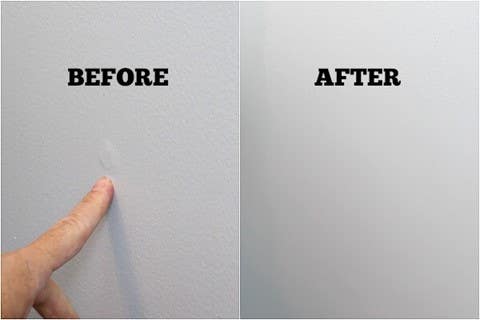
Most of your clients have an expectation of a perfectly flat, blemish-free plasterboard surface finish. In practice, however, such finish is impossible to achieve and all that can be realistically expected is the perception of flatness.
A major cause of dissatisfaction with plasterboard surfaces is, in fact, unfavourable lighting from internal or external sources.
Knauf has updated its popular Lighting and Decorating Plasterboard Guide to assist architects, interior designers, builders, plasterers, and home renovators in achieving the desired wall and ceiling results.
Design influences
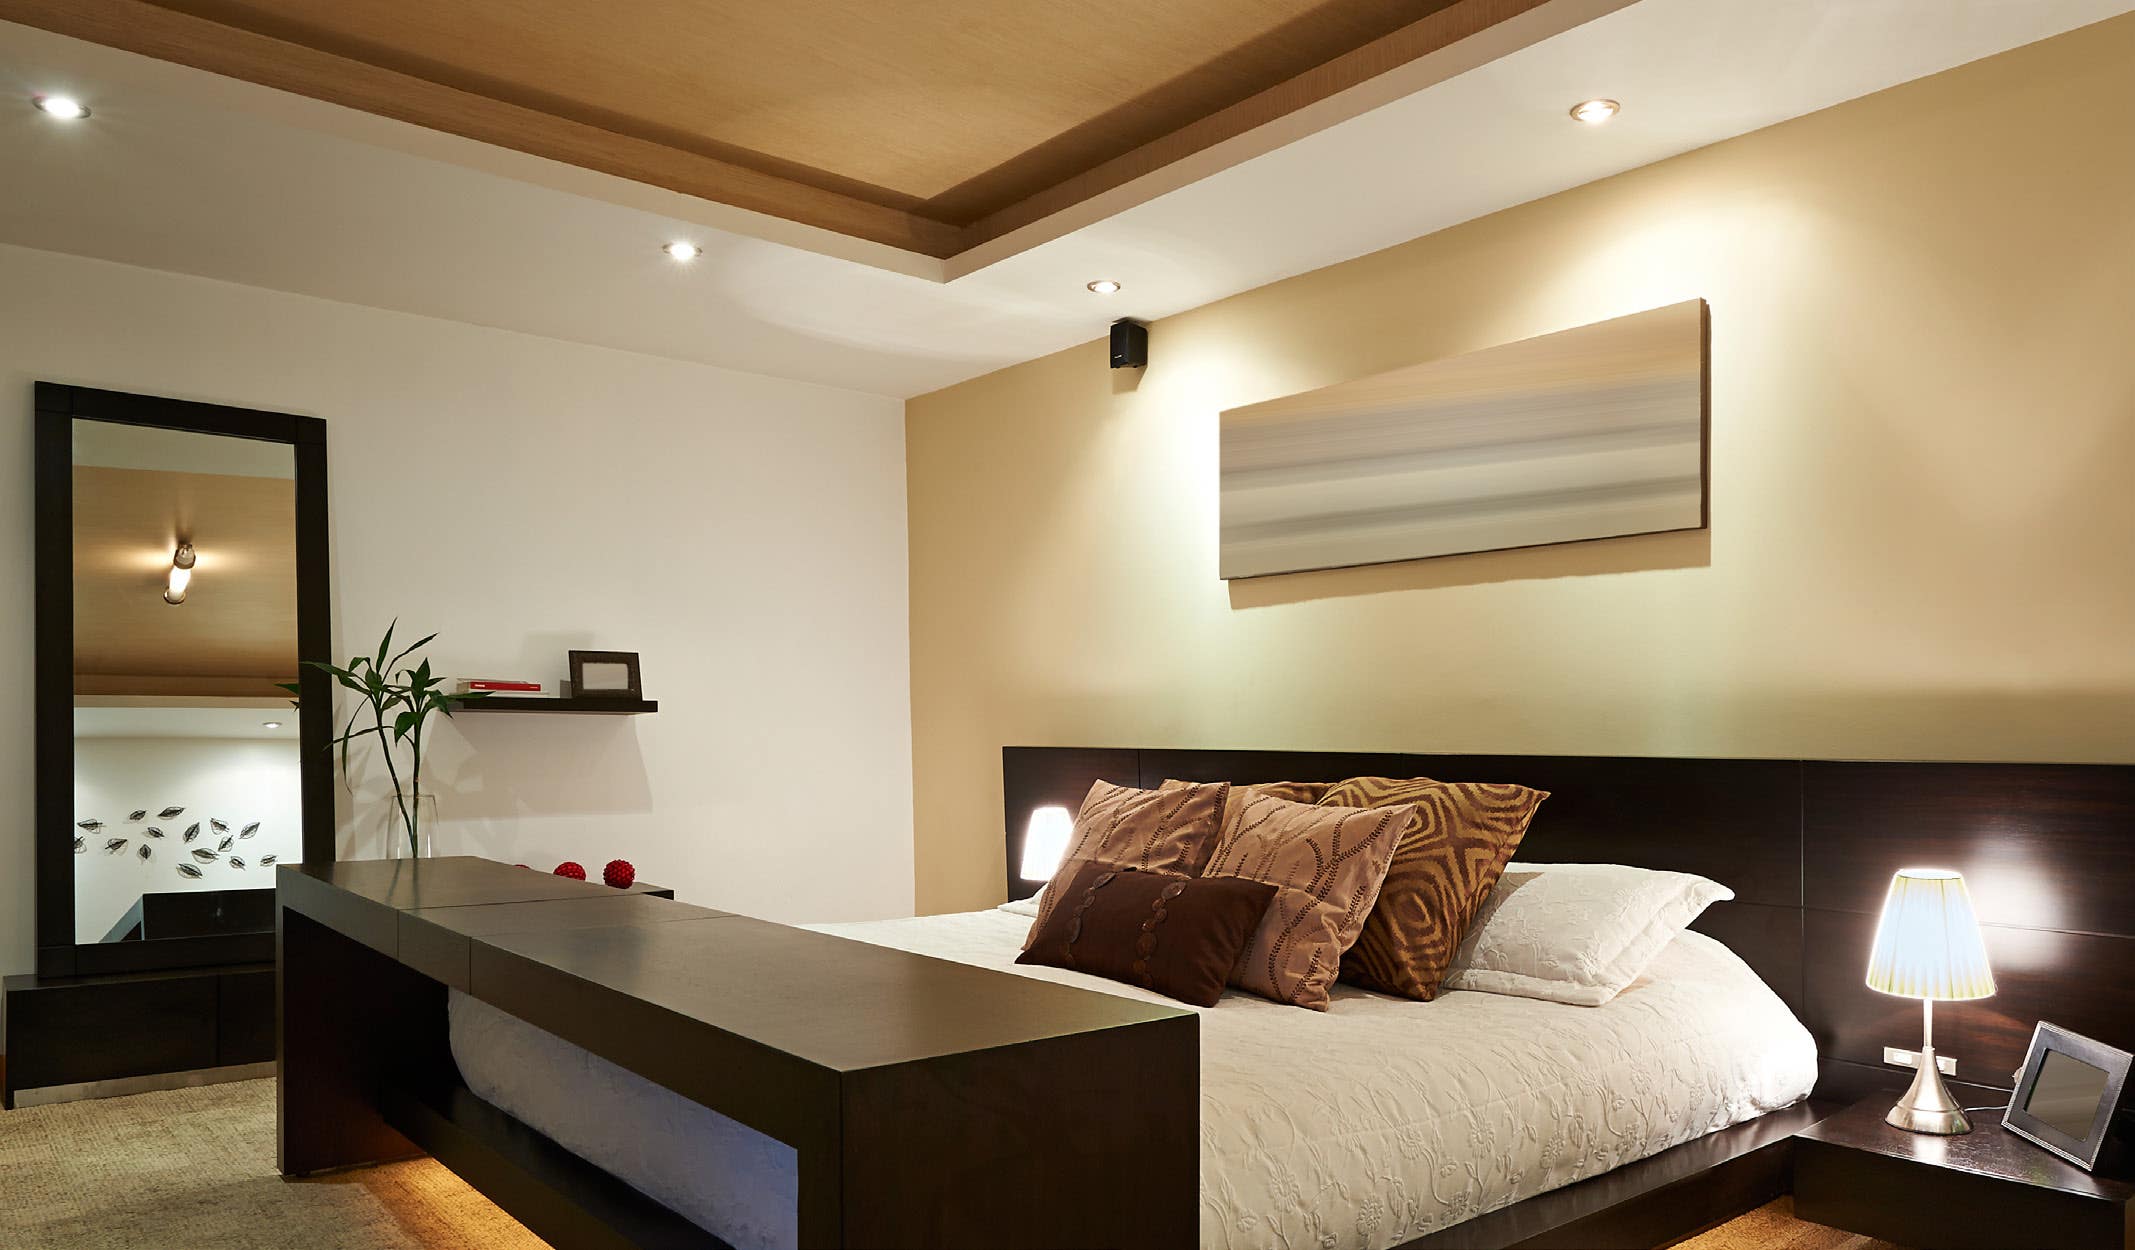
There are many factors in modern building design that influence the overall appearance of walls and ceilings. Many of today’s homes have large open living areas with unbroken ceilings across adjoining rooms and, importantly, large windows and skylights. While providing the desired modern and spacious look, these features often create lighting conditions detrimental to the appearance of wall and ceiling surfaces. It is important that surface finish expectations are based on what can be realistically achieved given the design features of the project, particularly when some design features are likely to magnify any minor surface irregularities. When considering the effects of building orientation and window size and positioning on appearance of wall and ceiling surfaces, one should be aware of the effects of external light at different times of the day.
Levels of finish
|
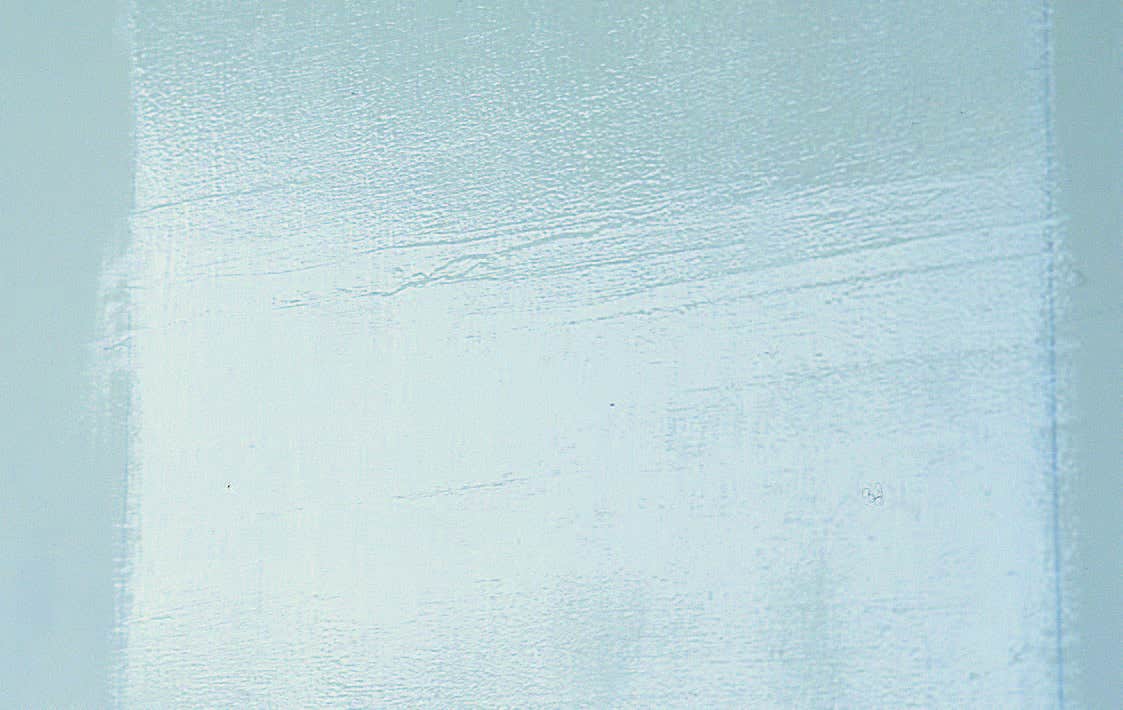
Gloss paint finish subjected to external glancing light |
Surface finished with gloss paint |
Surface finished with matt paint |


Definition
The term ‘level of finish’ applies to plasterboard linings prior to decoration. AS/NZS 2589 ‘Gypsum linings – Application and finishing’ defines three levels of finish: Levels 3, 4 and 5. Level 4 is the default level of finish for plasterboard surfaces, unless otherwise specified. It is essential that the level of finish is determined at the design stage since each level of finish has specific requirements for substrate tolerances and plasterboard installation, jointing and finishing. The desired level of finish may not be achieved unless all of these requirements are met through various stages of construction. For a full description of levels of finish refer to AS/NZS 2589. A summary of various levels of finish is provided below:
Level 3
This level of finish is used in areas that do not require decoration or where finish is not important (for example, above ceilings or inside service shafts and the like). All joints and interior angles must have tape embedded in the joint compound and one separate coat of joint compound applied over all joints and fastener heads.
Level 4
This is the default and generally accepted level of plasterboard finish. All joints and interior angles must have tape embedded in the jointing compound and a minimum of two separate coats of joint compound applied over all joints, angles fastener heads and accessories. If Level 4 surface is to be exposed to critical lighting (see Glancing Light above), it should be covered with textured finishes or wall coverings. Smooth textured finishes and flat/matt or low sheen paints can be used when Level 4 finish is illuminated by non-critical lighting. Flat paints in this situation tend to conceal joints. Weight, texture and sheen level of wall coverings/finishes should be carefully evaluated and joints should be adequately concealed if wall-covering material is lightweight, glossy or lightly patterned.
Level 5
Level 5 finish should be used where gloss or semi-gloss paints are specified or where flat or low sheen paints will be exposed to critical lighting conditions. Level 5 finish is characterised by a parity of surface texture and porosity. All joints and interior angles must have tape embedded in the jointing compound and a minimum of two separate coats of jointing compound applied over all joints, angles, fastener heads and accessories. The work is finished with proprietary surface preparations or skim coating to remove differential surface textures and porosity. A suitable paint or plaster material is sprayed, rolled or trowelled over the defined area. The surface texture must be random and monolithic, concealing joints and fixing points.
You can view the full document here